“Securing Virtual Machines using BeyondCorp Enterprise (BCE)”
Pengantar
Di lab ini, Anda akan mempelajari cara menggunakan penerusan TCP BeyondCorp Enterprise (BCE) dan Identity-Aware Proxy (IAP) untuk mengaktifkan akses administratif ke instance VM yang tidak memiliki alamat IP eksternal atau tidak mengizinkan akses langsung melalui internet.
Praktikum
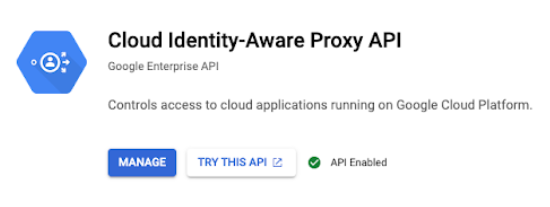
Enable IAP TCP forwarding in your Google Cloud project
- Open the Navigation Menu and select APIs and Services > Library
- Search for IAP and select Cloud Identity-Aware Proxy API.
- Click Enable.
Create Linux and Windows Instances
1. You will create three instances for this lab
- Two for demonstration purposes (Linux and Windows)
- One for testing connectivity (Windows)
2. Open the Navigation Menu and select Compute Engine
3. To create the Linux Demo VM. Click Create instance and use the following configuration to create a VM. Leave the rest as default.
Name: linux-iap
Zone: us-east1-c
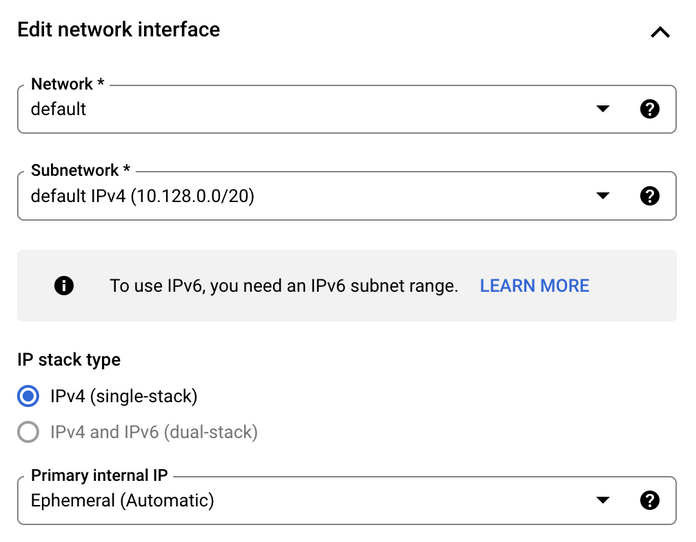
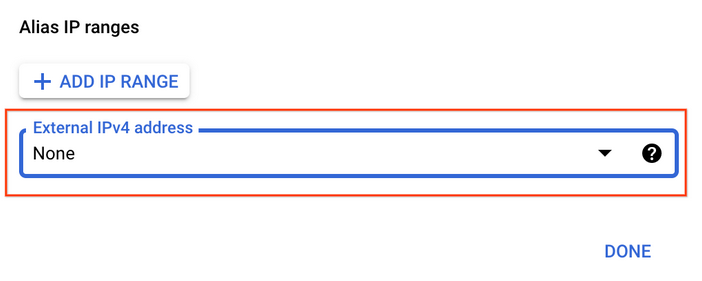
4. Click on Advanced options and select Networking. Under network interfaces click the defult network to edit. Then change the External IPV4 address to None.
Click Done.
Then click create.
This VM will be referred to as linux-iap
5. To create the Windows Demo VM. Click Create instance and use the following configuration to create a VM. Leave the rest as default.
Name: windows-iap
Zone: us-east1-c
Under the boot disk section, click on Change
For the OS, select the following:
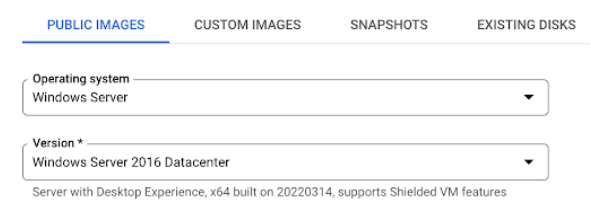
- Public Images > Operating system > Windows Server
- Version > Windows Server 2016 Datacenter
Click Select.
Click on Advanced options and select Networking. Under network interfaces click the defult network to edit. Then change the External IPV4 address to None. Click Done.
Then click create.
This VM will be referred to as windows-iap
6. To create the Windows Connectivity VM. Click Create instance and use the following configuration to create a VM. Leave the rest as default.
Name: windows-connectivity
Zone: us-east1-c
Under the boot disk section, click on Change
For the OS, set the following on the Custom Images tab:
- Source project for images:
Qwiklabs Resources - Image:
iap-desktop-v001
Click Select.
For access scopes, select Allow full access to all Cloud APIs
Do not disable external IP for this instance
Then click create.
This VM will be referred to as windows-connectivity
Test connectivity to your Linux and Windows instances
1. After the instances are created, You will test access to linux-iap and windows-iap to ensure that you aren’t able to access the VMs without the external IP.
2. For linux-iap click on the SSH button to get into the machine and ensure you get a message similar to the following.
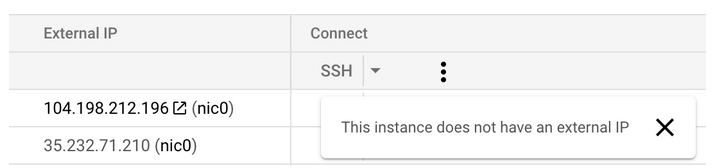
3. For windows-iap: click the RDP button and ensure you get a message similar to the following:

Configure the required firewall rules for BCE
- Open the Navigation Menu and select VPC Network > Firewall and click Create Firewall Rule
- Configure the following settings:
- Name: allow-ingress-from-iap
- Direction of traffic: Ingress
- Target: All instances in the network
- Source filter: IPv4 Ranges
- Source IPv4 Ranges: 35.235.240.0/20
- Protocols and ports: Select TCP and enter 22, 3389 to allow both SSH and RDP respectively
- Click CREATE to create the firewall rule.
Grant permissions to use IAP TCP forwarding
1. Follow the following steps to configure the iap.tunnelResourceAccessor role by VM.
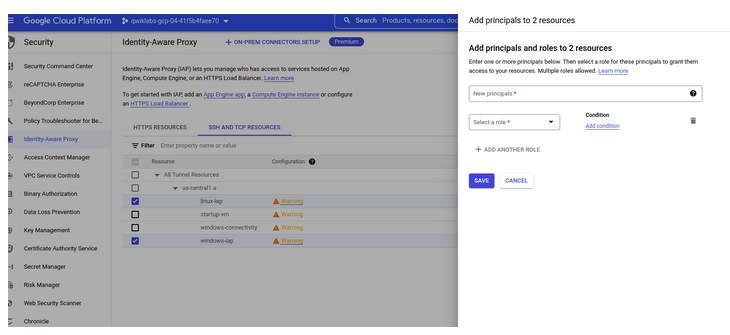
- Open Navigation Menu and select Security > Identity-Aware Proxy, switch to the SSH and TCP Resources tab (safely ignore the Oauth Consent screen error in the HTTPS section).
- Select the linux-iap and windows-iap VM instances
- Click Add principal
- Enter in the service account associated with your Windows connectivity VM.
- Select Cloud IAP > IAP-Secured Tunnel User for the role.
- Click SAVE.
- From the top-right of the page click the “S” icon to open your profile and copy the email of the student account
- Click Add principal again to add your student account
- Enter in the student account you have copied
- Select Cloud IAP > IAP-Secured Tunnel User for the role.
- Click SAVE.
Use IAP Desktop to Connect to the Windows and Linux Instances
It is possible to use IAP Desktop to connect to instances using a graphical user interface from an instance with Windows Desktop. You can read more about IAP Desktop on the GitHub repository hosting the download for the tool.
To use IAP Desktop to connect to the instances in this lab:
- RDP to the
windows-connectivityinstance by downloading the RDP file. Go to the Compute Engine > VM Instances page. Select the down arrow next to the windows-connectivity instance on the Compute Engine landing page and download the file. - Open the RDP file to connect to the instance via Remote Desktop Protocol. You will use the credentials below to connect to the instance once prompted:
- Username: student
- Password: Learn123!
- Once connected to the windows-connectivity instance, locate and open the IAP Desktop application on the desktop of the instance.
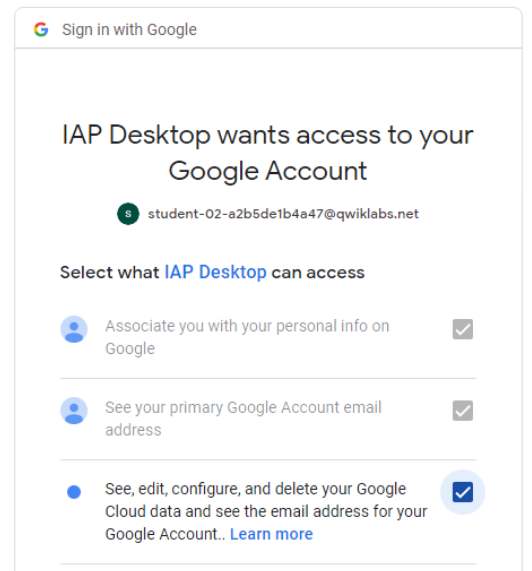
- Once the application opens, click on the sign in with Google button to log in. Use the username and password provided in the lab console to authenticate with IAP Desktop. Make sure you select the option to “See, edit, configure and delete Google Cloud data.”
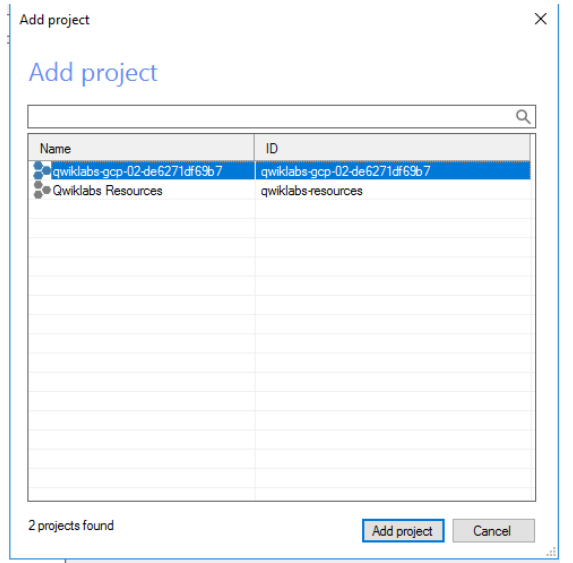
5. You will need to add the project to connect to Compute Engine instances within IAP Desktop after authentication. Select the lab project associated with your lab instance:
Double click on the windows-iap instance in the IAP Desktop application to log into the the instance.
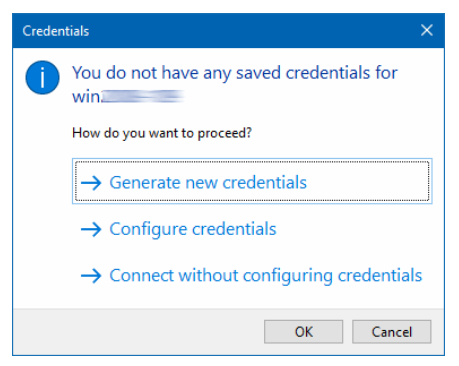
- You may be prompted to provide credentials for the instance the first time you try to connect to it through IAP Desktop. Select “Generate new credentials” the first time logging into the instance.
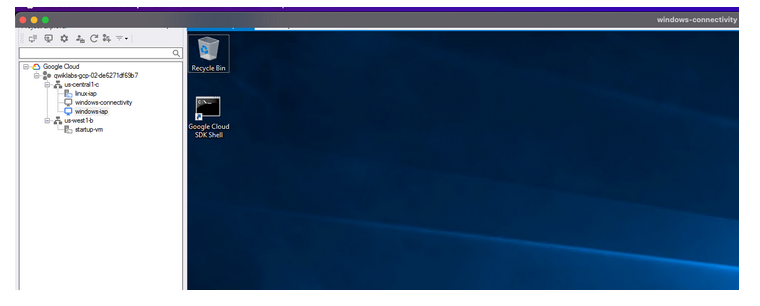
7. After the credentials are created you will be taken to the desktop of the windows-iap instance and can see the end user experience.
Demonstrate tunneling using SSH and RDP connections
- You will testconnectivity to the RDP instance using an RDP client. This is because you need to connect to the instance via an IAP tunnel locally.
- Go to the Compute Engine > VM Instances page.
- For the windows-connectivity instance click the down arrow and select Set windows password. Copy the password and save it.
Then click down arrow next to connect and click download the RDP file. Open the RDP file with your client and enter in your password.
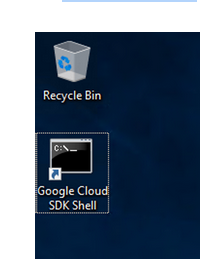
- Once you have connected to the windows-connectivity instance. Open the Google Cloud Shell SDK:
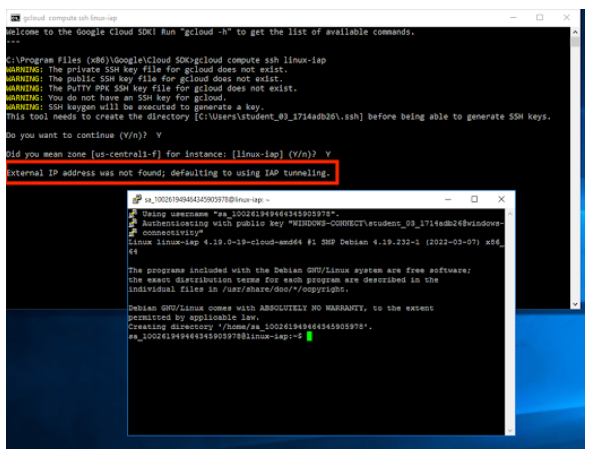
Now from the command line enter the following command to see if you can connect to the linux-iap instance:
gcloud compute ssh linux-iapClick Y when promopted to continue and to select the zone.
Make sure that you select the right zone for the instance when prompted.
Then Accept the Putty security alert.
Update Putty Settings to allow Tunnel connections locally. Click the top left corner of the Putty Window > Change Settings.
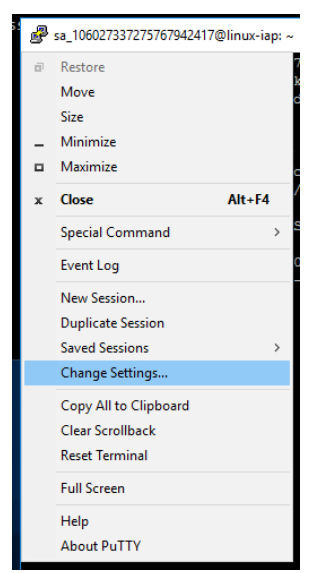
Allow local ports to accept connections from other hosts by checking the checkbox “Local ports accept connections from other hosts”.
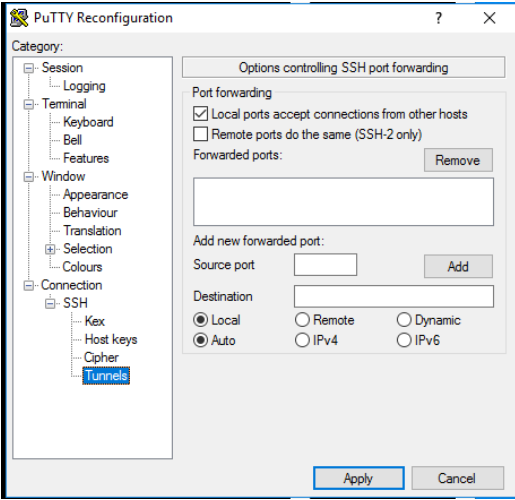
5. Close the Putty session and click Apply. Use the following command to create an encrypted tunnel to the RDP port of the VM instance:
gcloud compute start-iap-tunnel windows-iap 3389 --local-host-port=localhost:0 --zone=us-east1-cOnce you see the message about “Listening on port [XXX].” Copy the tunnel port number.
- Return to the Google Cloud Console and go to the Compute Engine > VM Instances page.
Set and copy the password for the windows-iap instance.
Return to the RDP session now.
Leave gcloud running and open the Microsoft Windows Remote Desktop Connection app.
Enter the tunnel endpoint where the endpoint is the tunnel port number from the earlier step like so:
- localhost:endpoint
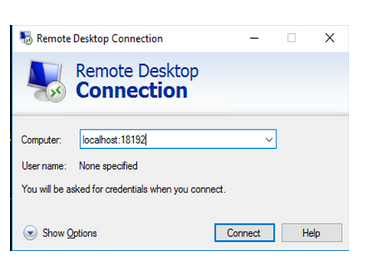
Click Connect.
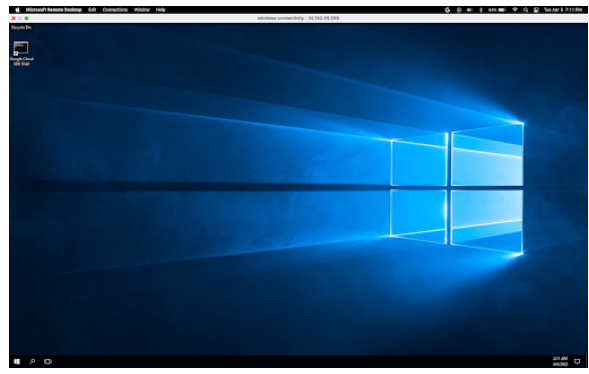
Then enter the previous credentials you copied earlier You will be successfully RDPed into your instance now!
If prompted click Yes.
Penutup
Sahabat Blog Learning & Doing demikianlah penjelasan mengenai Securing Virtual Machines using BeyondCorp Enterprise (BCE). Semoga Bermanfaat . Sampai ketemu lagi di postingan berikut nya.