Sekarang kita masuk ke level:
GitOps dengan Argo CD
Bedanya Sebelum vs Sesudah ArgoCD
Sebelum
GitLab CI langsung deploy:
GitLab CI
↓
kubectl apply / helm upgrade
↓
K3s
Sesudah (GitOps)
GitLab CI TIDAK deploy lagi.
Workflow berubah:
Developer Push
↓
GitLab Build Image
↓
Update Helm Values di Git
↓
ArgoCD Detect Git Change
↓
Auto Deploy ke K3s
🔥 Kubernetes selalu mengikuti isi Git.
Kenapa Enterprise Suka GitOps?
Karena:
- cluster tidak diubah manual
- semua perubahan tercatat di Git
- rollback gampang
- audit jelas
- lebih aman
STEP 1 — Install ArgoCD
Di kube1:
kubectl create namespace argocdInstall Manifest
kubectl apply -n argocd -f https://raw.githubusercontent.com/argoproj/argo-cd/stable/manifests/install.yamlTunggu Pod Running
kubectl get pods -n argocdharus semua:
RunningSTEP 2 — Expose ArgoCD UI
Karena masih lab local, paling gampang NodePort.
Edit Service
kubectl edit svc argocd-server -n argocdubah:
type: ClusterIPmenjadi:
type: NodePortSimpan
Lalu cek:
kubectl get svc -n argocdCari Port
root@kube1:~# kubectl get svc -n argocd
NAME                                      TYPE        CLUSTER-IP      EXTERNAL-IP   PORT(S)                      AGE
argocd-applicationset-controller          ClusterIP   10.43.93.30     <none>        7000/TCP,8080/TCP            3m25s
argocd-dex-server                         ClusterIP   10.43.68.73     <none>        5556/TCP,5557/TCP,5558/TCP   3m25s
argocd-metrics                            ClusterIP   10.43.85.122    <none>        8082/TCP                     3m25s
argocd-notifications-controller-metrics   ClusterIP   10.43.53.71     <none>        9001/TCP                     3m25s
argocd-redis                              ClusterIP   10.43.120.154   <none>        6379/TCP                     3m25s
argocd-repo-server                        ClusterIP   10.43.202.123   <none>        8081/TCP,8084/TCP            3m25s
argocd-server                             NodePort    10.43.126.117   <none>        80:31827/TCP,443:32590/TCP   3m25s
argocd-server-metrics                     ClusterIP   10.43.161.191   <none>        8083/TCP                     3m25s
Misal:
argocd-server NodePort 80:31827/TCP. ( bisa beda beda port nya )Akses Browser
http://192.168.10.15:31827atau HTTPS:
https://192.168.10.15:31827biasanya HTTPS.
STEP 3 — Ambil Password Admin
kubectl -n argocd get secret argocd-initial-admin-secret \
-o jsonpath="{.data.password}" | base64 -d

misal hasilnya :

root@kube1:~# kubectl -n argocd get secret argocd-initial-admin-secret \
-o jsonpath="{.data.password}" | base64 -d
jmN8JErtXdFPGncQ
Login
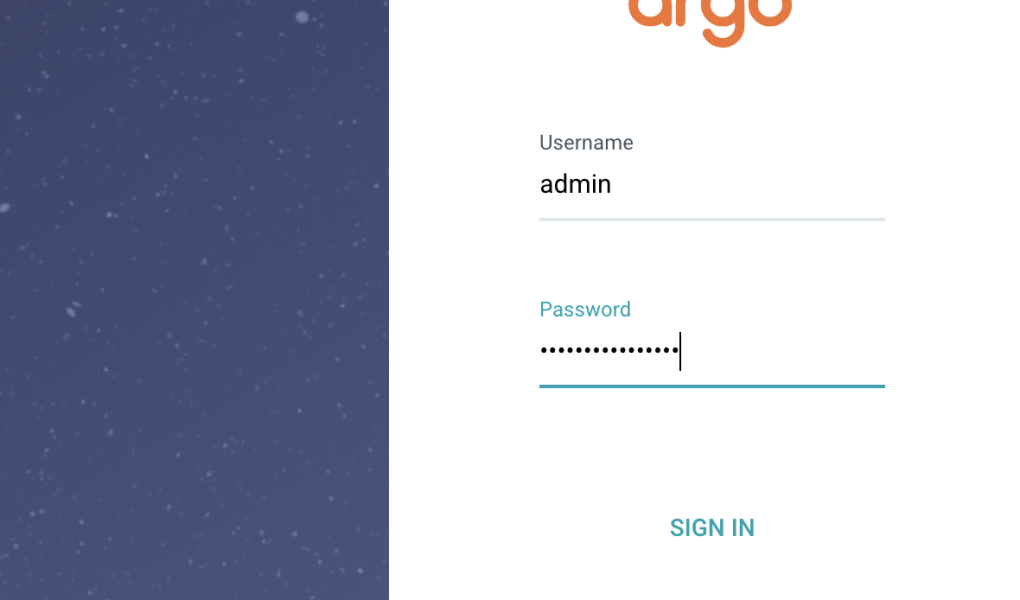
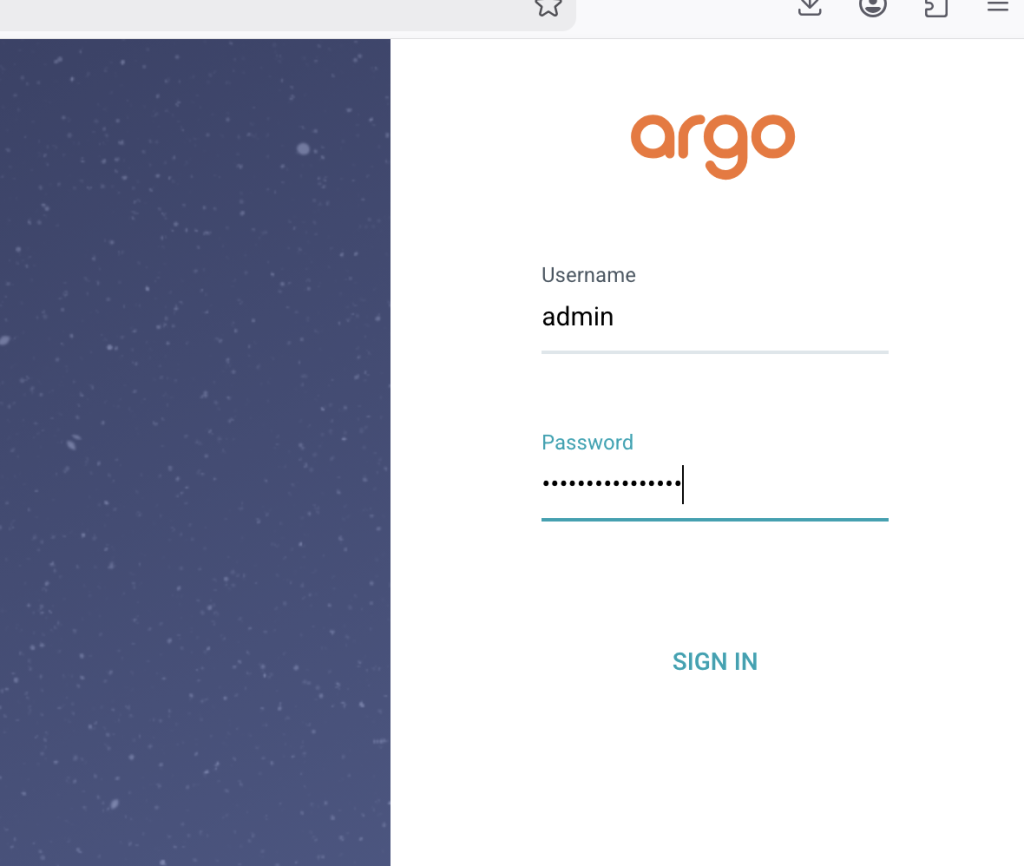
User:
adminPassword:
(output command tadi)
STEP 4 — Hubungkan Repo GitLab
Di ArgoCD UI:
Settings
→ Repositories
→ Connect Repo
Isi:
- repo URL GitLab
- username
- personal access token
STEP 5 — Buat Application
Contoh:
Applications
→ New App
Isi
General
Application Name:
nginx-dev
Project:
defaultSync Policy:
AutomaticSource
Repo URL:
https://gitlab.com/USERNAME/REPO.gitPath:
helm/nginx-appRevision:
developDestination
Cluster:
https://kubernetes.default.svcNamespace:
developmentHelm Values
Tambahkan:
values-dev.yamlSTEP 6 — Save & Sync
ArgoCD akan:
- pull repo GitLab
- detect Helm chart
- deploy otomatis
🔥 GitOps aktif.
Setelah Pakai ArgoCD
Pipeline GitLab berubah.
Hapus Deploy Stage
Karena deploy sekarang dilakukan ArgoCD.
Pipeline jadi:
Build Docker
↓
Push Registry
↓
Update values.yaml image tag
↓
Git Push
↓
ArgoCD Sync
Disisi Gitlab
Nah ini bagian paling penting saat pindah ke GitOps 🔥
Karena setelah pakai Argo CD:
Bisa ambil code dari -> https://github.com/kyuby13/belajar-gitlab-gitops
GitLab CI TIDAK deploy lagi ke Kubernetes.
GitLab hanya:
- build image
- push registry
- update Helm values/image tag di Git
Lalu:
- ArgoCD detect perubahan Git
- auto deploy ke K3s
Workflow Baru
Developer Push
↓
GitLab CI Build Docker
↓
Push Image Registry
↓
Update values-dev.yaml
↓
Git Push
↓
ArgoCD Sync
↓
K3s Deploy
Jadi .gitlab-ci.yml Berubah
Dari:
build + deploymenjadi:
build onlyPLUS update image tag.
Struktur Repo Yang Ideal
belajar-gitlab/
├── .gitlab-ci.yml
├── Dockerfile
├── index.html
│
├── helm/
│   └── nginx-app/
│       ├── Chart.yaml
│       ├── values-dev.yaml
│       ├── values-prod.yaml
│       └── templates/
GitLab CI Baru (GitOps Style)
Contoh:
stages:
  - build
  - update-manifest

variables:
  IMAGE_NAME: registry.gitlab.com/project7112620/belajar-gitlab/nginx-app

# =========================
# BUILD IMAGE
# =========================

build:
  image: docker:latest

  stage: build

  tags:
    - main-runner

  services:
    - docker:dind

  variables:
    DOCKER_HOST: tcp://docker:2375
    DOCKER_TLS_CERTDIR: ""

  script:
    - docker login -u gitlab-ci-token -p $CI_JOB_TOKEN registry.gitlab.com

    - docker build -t $IMAGE_NAME:$CI_COMMIT_SHORT_SHA .

    - docker push $IMAGE_NAME:$CI_COMMIT_SHORT_SHA

# =========================
# UPDATE DEV VALUES
# =========================

update-dev:
  image: alpine:latest

  stage: update-manifest

  only:
    - develop

  tags:
    - main-runner

  before_script:
    - apk add --no-cache git sed

  script:
    - sed -i "s/tag:.*/tag: $CI_COMMIT_SHORT_SHA/g" helm/nginx-app/values-dev.yaml

    - git config --global user.email "[email protected]"
    - git config --global user.name "GitLab CI"

    - git remote set-url origin https://oauth2:[email protected]/project7112620/belajar-gitlab.git

    - git add helm/nginx-app/values-dev.yaml

    - git commit -m "Update dev image to $CI_COMMIT_SHORT_SHA"

    - git push origin HEAD:develop
Yang Dilakukan Pipeline
Pipeline otomatis:
tag: oldmenjadi:
tag: 2d056e68di:
values-dev.yamlLalu ArgoCD Detect
Karena Git berubah:
values-dev.yamlArgoCD otomatis:
- sync
- deploy image baru
🔥 tanpa kubectl lagi.
Cara Tambahkan GITLAB_TOKEN
1. Buka Project GitLab
Masuk ke repo kamu:
belajar-gitlab2. Masuk Menu
Settings
→ CI/CD
3. Cari Bagian
VariablesKlik:
Expand4. Klik
Add variable5. Isi Variable
Key
GITLAB_TOKENValue
Isi dengan:
- Personal Access Token GitLab
contoh:
glpat-xxxxxxxx6. Optional Settings
Biasanya:
✅ Masked
✅ Protected (untuk branch main saja)
untuk lab/testing boleh:
- Masked ON
- Protected OFF dulu
7. Save Variable
Klik:
Add variableCara Buat Personal Access Token
Klik avatar kanan atas GitLab:
Preferences
→ Access Tokens
atau:
Isi
Token Name
gitops-tokenExpiration
boleh:
- 30 hari
- 90 hari
- atau no expiration untuk lab
Scope Yang Dibutuhkan
✅ write_repository
minimal itu saja cukup.
Create Token
Nanti keluar:
glpat-xxxxxxxxCOPY SEKALI SAJA ⚠️
karena setelah ditutup tidak bisa dilihat lagi.
Setelah Variable Dibuat
Pipeline bisa memakai:
$GITLAB_TOKENcontoh:
git remote set-url origin https://oauth2:[email protected]/project7112620/belajar-gitlab.gitvalues-dev.yaml Harus Ada
image:
  repository: registry.gitlab.com/project7112620/belajar-gitlab/nginx-app

  tag: latest
Nanti CI akan update bagian:
tag:otomatis.
Production Nanti
Tinggal tambah:
update-prod:untuk branch main.
Setelah Pakai GitOps
Kamu:
- tidak perlu kubectl di GitLab
- tidak perlu kubeconfig di runner
- tidak perlu helm deploy di CI
🔥 lebih aman & enterprise.
Karena sekarang kamu sudah pakai:
Helm + ArgoCD + GitOpsmaka rollback ada 3 cara 🔥
1. Rollback via Helm (Paling Cepat)
Lihat history:
helm history nginx-prod -n productionContoh:
REVISION
1
2
3
Rollback:
helm rollback nginx-prod 2 -n productionArtinya:
- kembali ke revision 2
Cek Hasil
helm list -Adan:
kubectl get pods -n production2. Rollback via GitOps (Recommended)
Karena GitOps source of truth = Git.
Jadi rollback terbaik sebenarnya:
git revertLihat Commit
git log --onelineContoh:
3b1b2b3 fix bug
37f9abe stable version
Revert
git revert 3b1b2b3Lalu:
git push origin mainFlow:
Git revert
↓
GitLab CI
↓
values-prod.yaml update
↓
ArgoCD detect
↓
rollback otomatis
🔥 ini true GitOps rollback.
3. Rollback Manual Image Tag
Bisa juga edit:
helm/nginx-app/values-prod.yamlubah:
tag: 37f9abecommit:
git add .
git commit -m "rollback production"
git push origin main
ArgoCD deploy image lama.
Sekarang kamu sudah masuk level GitOps enterprise 🔥
Flow nya nanti jadi:
Developer Push
↓
GitLab CI Build Image
↓
Update values-prod.yaml
↓
GitLab Trigger Webhook
↓
ArgoCD langsung detect
↓
Deploy ke K3s
Jadi tidak perlu tunggu polling 3 menit lagi.
1. Ambil URL ArgoCD Webhook
Masuk ArgoCD UI:
Settings
→ Applications
→ pilih app nginx-prod
atau bisa pakai endpoint:
https://ARGOCD_URL/api/webhookKalau belum punya domain bisa pakai:
- NodePort
- Cloudflare Tunnel
- Ingress
Contoh:
http://192.168.10.15:30080/api/webhook2. Buat Webhook di GitLab
Masuk:
GitLab
→ Settings
→ Webhooks
Isi:
URL
http://192.168.10.15:30080/api/webhookTrigger
Checklist:
Push events3. Tambahkan Secret (Optional tapi Recommended)
Di webhook GitLab:
Secret Tokenisi random:
mysecret1234. Configure ArgoCD Secret
Buat secret di K3s:
kubectl create secret generic argocd-webhook-secret \
  -n argocd \
  --from-literal=webhook.gitlab.secret=mysecret123
5. Restart ArgoCD Server
kubectl rollout restart deployment argocd-server -n argocd6. Test
Push perubahan:
git commit -am "test webhook"
git push origin main
Harusnya:
- GitLab CI jalan
- values-prod.yaml berubah
- webhook trigger
- ArgoCD auto sync langsung
Cara Cek Webhook Jalan
Di GitLab:
Settings
→ Webhooks
→ Recent Events
Harus muncul:
200 OKKalau Error 404
Biasanya:
- URL salah
- argocd-server belum expose
- ingress belum benar
Cara Enterprise Yang Bagus
Biasanya pakai:
GitLab
↓
Webhook HTTPS
↓
ArgoCD Ingress
↓
TLS/Domain
contoh:
https://argocd.company.com/api/webhook