“How to Install Redmine on CentOS 8”
Redmine adalah aplikasi manajemen proyek dan pelacakan masalah sumber terbuka dan gratis. Ini adalah lintas platform dan lintas basis data dan dibangun di atas kerangka kerja Ruby on Rails.
Redmine menyertakan dukungan untuk beberapa proyek, wiki, sistem pelacakan masalah, forum, kalender, pemberitahuan email, dan banyak lagi.
1. Buat databses baru
- Install dahulu mysql di server centos 8 ,
bisa ikuti tutorial Cara Install Mariadb di Centos 8 untuk Pemula - Setelah mysql terinstall silahkan masuk ke myslq
mysql -u root -p
- Buat database baru
CREATE DATABASE redmine CHARACTER SET utf8;
GRANT ALL ON redmine.* TO 'redmine'@'localhost' IDENTIFIED BY 'change-with-strong-password';
FLUSH PRIVILEGES;
EXIT;
2. Install Passenger, Apache dan Ruby
- Enable repository
sudo dnf install epel-release
sudo dnf config-manager --enable epel
- Install package
sudo dnf install httpd mod_passenger passenger passenger-devel ruby
- Enable service
sudo systemctl enable httpd --now
3. Buat User untuk redimine
- Buat User
sudo useradd -m -U -r -d /opt/redmine redmine
- Berikan Permission
sudo usermod -a -G redmine apache
sudo chmod 750 /opt/redmine
4. Install Redmine
- Install dependensi
sudo dnf group install "Development Tools"
sudo dnf install zlib-devel curl-devel openssl-devel mariadb-devel ruby-devel
- Ganti user
sudo su - redmine
- Download redmine
curl -L http://www.redmine.org/releases/redmine-4.1.0.tar.gz -o redmine.tar.gz
- ekstrakt File
tar -xvf redmine.tar.gz
- Configurasi DB
cp /opt/redmine/redmine-4.1.0/config/database.yml.example /opt/redmine/redmine-4.1.0/config/database.yml
nano /opt/redmine/redmine-4.1.0/config/database.yml
production:
  adapter: mysql2
  database: redmine
  host: localhost
  username: redmine
  password: "change-with-strong-password"
  encoding: utf8mb4
- install ruby dependensi
cd ~/redmine-4.1.0
gem install bundler --no-rdoc --no-ri
bundle install --without development test postgresql sqlite --path vendor/bundle
- Migrasi database
bundle exec rake generate_secret_token
RAILS_ENV=production bundle exec rake db:migrate
5. Konfigurasi Apache
sudo nano /etc/httpd/conf.d/example.com.conf
<VirtualHost *:80>
    ServerName example.com
    ServerAlias www.example.com
    DocumentRoot /opt/redmine/redmine-4.1.0/public

    <Directory /opt/redmine/redmine-4.1.0/public>
        Options Indexes ExecCGI FollowSymLinks
        Require all granted
        AllowOverride all
    </Directory>

    ErrorLog /var/log/httpd/example.com-error.log
    CustomLog /var/log/httpd/example.com-access.log combined
</VirtualHost>
- Restart service apache
sudo systemctl restart httpd
6. Konfigurasi SSL
- Silahkan install SSL free bisa lihat di
Install SSL Let’s Encrypt pada Nginx di CentOS 7 - Edit File apache
sudo nano /etc/httpd/conf.d/example.com.conf
<VirtualHost *:80>
  ServerName example.com
  ServerAlias www.example.com

  Redirect permanent / https://example.com/
</VirtualHost>

<VirtualHost *:443>
  ServerName example.com
  ServerAlias www.example.com

  Protocols h2 http/1.1

  <If "%{HTTP_HOST} == 'www.example.com'">
    Redirect permanent / https://example.com/
  </If>

  DocumentRoot /opt/redmine/redmine-4.1.0/public
  ErrorLog /var/log/httpd/example.com-error.log
  CustomLog /var/log/httpd/example.com-access.log combined

  SSLEngine On
  SSLCertificateFile /etc/letsencrypt/live/example.com/fullchain.pem
  SSLCertificateKeyFile /etc/letsencrypt/live/example.com/privkey.pem

  <Directory /opt/redmine/redmine-4.1.0/public>
    Options Indexes ExecCGI FollowSymLinks
    Require all granted
    AllowOverride all
  </Directory>

</VirtualHost>
7. Setting Firewalld
sudo firewall-cmd --permanent --zone=public --add-port=443/tcp
sudo firewall-cmd --permanent --zone=public --add-port=80/tcp
sudo firewall-cmd --reload
8. Akses dashboard GUI
http://ipaddr atau http://domain-anda
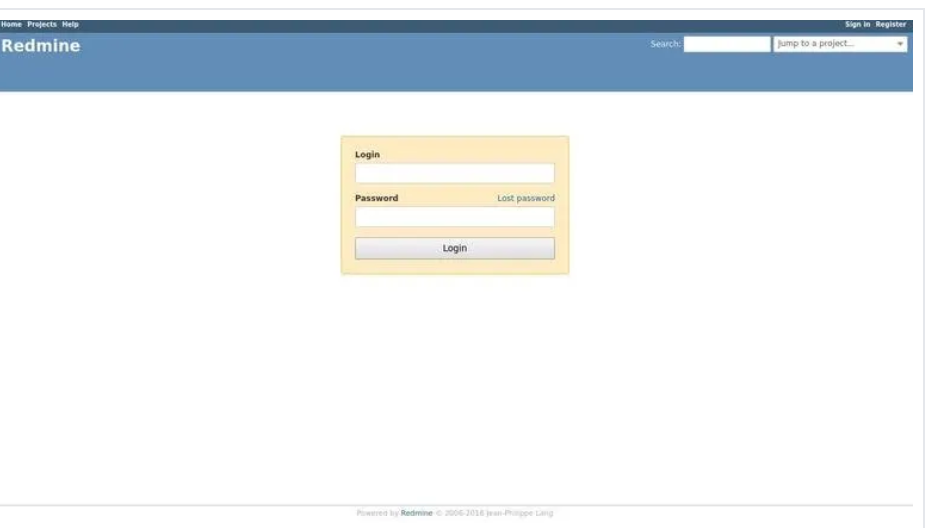
Info login default

Username: admin
Password: admin
Sahabat Blog Learning & Doing demikianlah penjelasan mengenai How to Install Redmine on CentOS 8. Semoga Bermanfaat . Sampai ketemu lagi di postingan berikut nya.