“Cara Install Apache Web Server Pada Ubuntu 20.04 / Debian 11”
Server Apache HTTP adalah server web yang paling banyak digunakan di dunia. Ini menyediakan banyak fitur canggih termasuk modul yang dapat dimuat secara dinamis, dukungan media yang kuat, dan integrasi ekstensif dengan perangkat lunak populer lainnya.
1. Update Server
sudo apt update
sudo apt upgrade
2. Install Apache
sudo apt install apache2
3. Enable Service
sudo systemctl enabled apache2.service
4. Allow Apache di Firewall
- Allow Apache
sudo ufw allow 'Apache'
- Cek status
sudo ufw status
Status: active

To                         Action      From
--                         ------      ----
OpenSSH                    ALLOW       Anywhere
Apache                     ALLOW       Anywhere
OpenSSH (v6)               ALLOW       Anywhere (v6)
Apache (v6)                ALLOW       Anywhere (v6)
5. Cara Manage Service Apache di Ubuntu
Untuk start, stop restart dan mengecek status service gunakan command berikut.
Start apache server
sudo systemctl start apache2.service
Stop apache server
sudo systemctl stop apache2.service
Restart apache server
sudo systemctl restart apache2.service
Cek status apache server
sudo systemctl status apache2.service
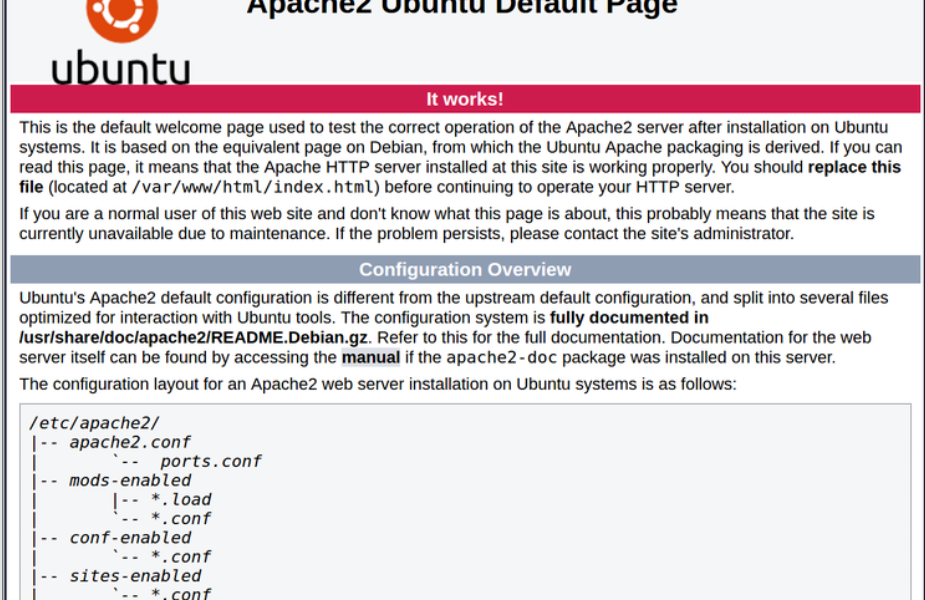
6. Akses Via Browser
http://your_server_ip
Sahabat Blog Learning & Doing demikianlah penjelasan mengenai Cara Install Apache Web Server Pada Ubuntu 20.04 / Debian 11. Semoga Bermanfaat . Sampai ketemu lagi di postingan berikut nya.


2 thoughts on “Cara Install Apache Web Server Pada Ubuntu 20.04 / Debian 11”
Comments are closed.